About This Guide
This guide provides a practical, step-by-step walkthrough for deploying ODK Central on an Ubuntu server hosted on Amazon Web Services (AWS) EC2.
It covers the complete deployment process, including preparing the EC2 instance, configuring AWS network security, installing Docker, deploying ODK Central, configuring a custom domain, and creating the initial administrator account.
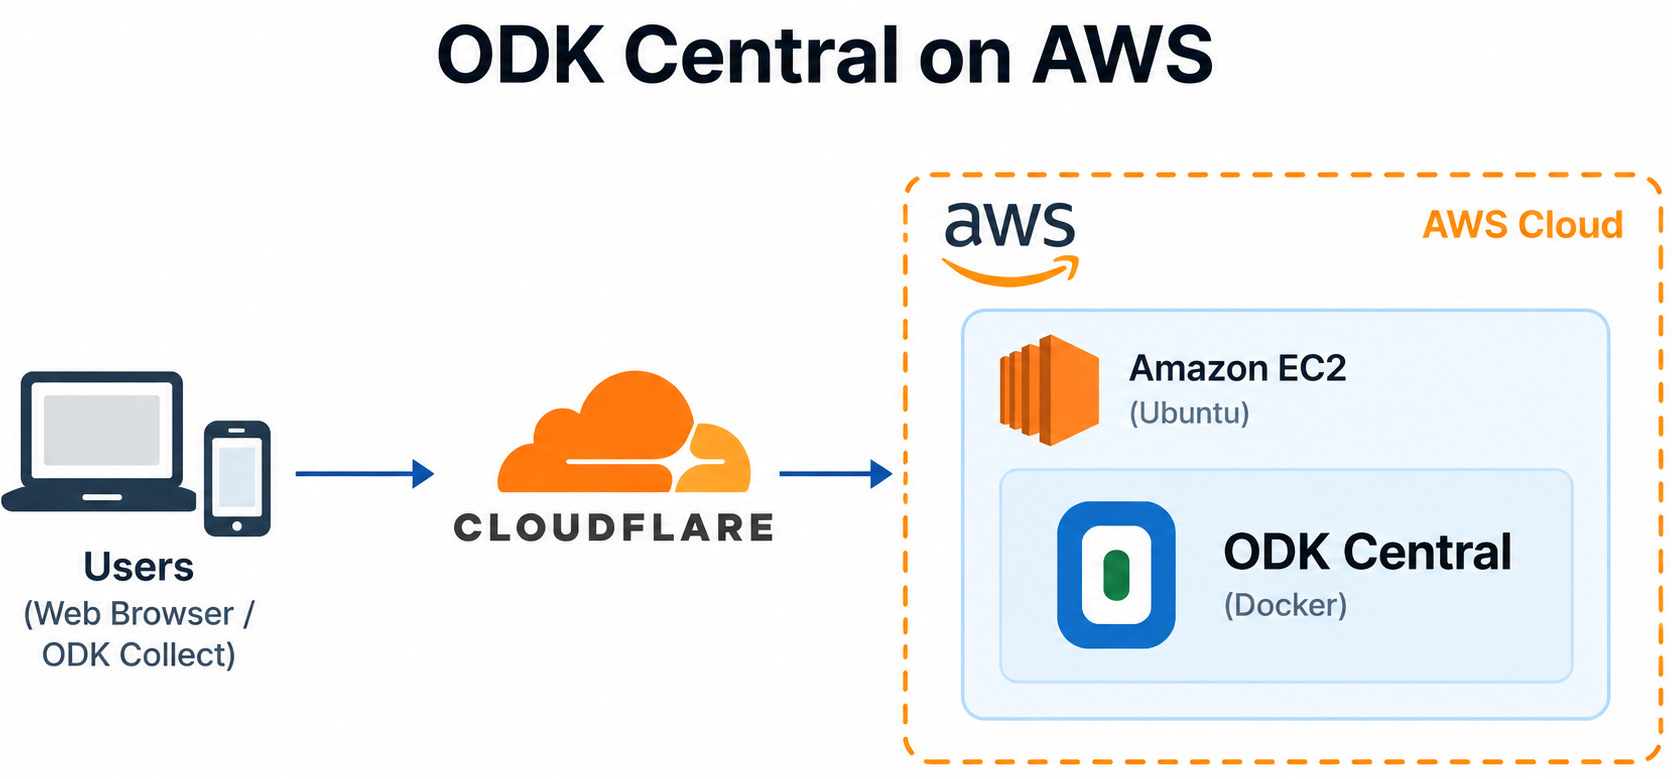
In this deployment, the environment uses Cloudflare for DNS and proxy services, with traffic directed to the ODK Central server hosted on AWS:
Users → Cloudflare → AWS EC2 → Ubuntu → Docker → ODK Central
By the end of this guide, you will have a self-hosted ODK Central environment accessible through your own domain.
What Is ODK Central?
ODK Central is the server component of the ODK ecosystem. It provides a central place for organizations and teams to manage data-collection projects, users, forms, submissions, and collected data.
Who Uses ODK Central?
ODK Central is used by organizations around the world as a server platform for managing mobile and field data collection. It is particularly valuable for teams that need to collect structured data across different locations, work in areas with limited or unreliable internet connectivity, and centrally manage forms, users, and submissions. The broader ODK ecosystem has been used by organizations working across public health, humanitarian response, scientific research, environmental monitoring, and community mapping.
ODK Central on AWS Ubuntu
1. AWS / Network Checklist
- EC2 OS: Ubuntu Server 24.04 LTS (64-bit x86).
- Attach an Elastic IP so the server IP does not change after stop/start.
- Cloudflare DNS: odk.yourdomain.com -> Elastic IP, with proxy enabled if that is your design.
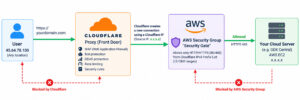
- Security Group: SSH 22 from your public IP /32; HTTP 80 and HTTPS 443 from your Cloudflare IPv4 prefix list.
2. Update Ubuntu and Install Prerequisites
sudo apt update -y
sudo apt upgrade -y
sudo apt install -y ca-certificates curl gnupg git
3. Install and Verify Docker
curl -fsSL https://get.docker.com | sudo sh

sudo systemctl enable docker
sudo systemctl start docker

sudo usermod -aG docker ubuntu
newgrp docker

docker --version
docker compose version
4. Download ODK Central
cd ~
git clone https://github.com/getodk/central.git
cd central
git submodule update --init --recursive| Use two normal hyphens in –init. Do not use a typographic/en dash copied from Word. |
5. Configure the .env File
cp .env.template .env
nano .env
Set the important values for this deployment:
DOMAIN=odk.yourdomain.com
[email protected]
| Use the domain name in DOMAIN, not the raw EC2 public IP. |
6. PostgreSQL Upgrade Marker
touch ./files/allow-postgres14-upgrade7. Pull and Build ODK Central
docker compose pull
docker compose build --pull
8. Start ODK Central and Check Status
docker compose up -d

docker ps
docker compose ps
docker compose logs --tail=100
9. Open the Website
For the Cloudflare-based setup, test with the hostname:
odk.yourdomain.com
10. Create the First ODK Central User
cd ~/central

docker compose exec service odk-cmd --email [email protected] user-create
Enter the password when prompted. Then promote the account to administrator:
docker compose exec service odk-cmd --email [email protected] user-promoteLogin information:
| Item | Value |
| [email protected] | |
| Password | The password you set during user-create |
11. Reset an Existing User Password
cd ~/central

docker compose exec service odk-cmd --email [email protected] user-set-password